
For today’s activity, I chose to share a piece of craft I created back in my high school days. I thought it would be an easy one to replicate and get creative with. While my one was a floral collage you are welcome to let this inspire any other forms and themes of art for your own version. So here we go!
My Collage
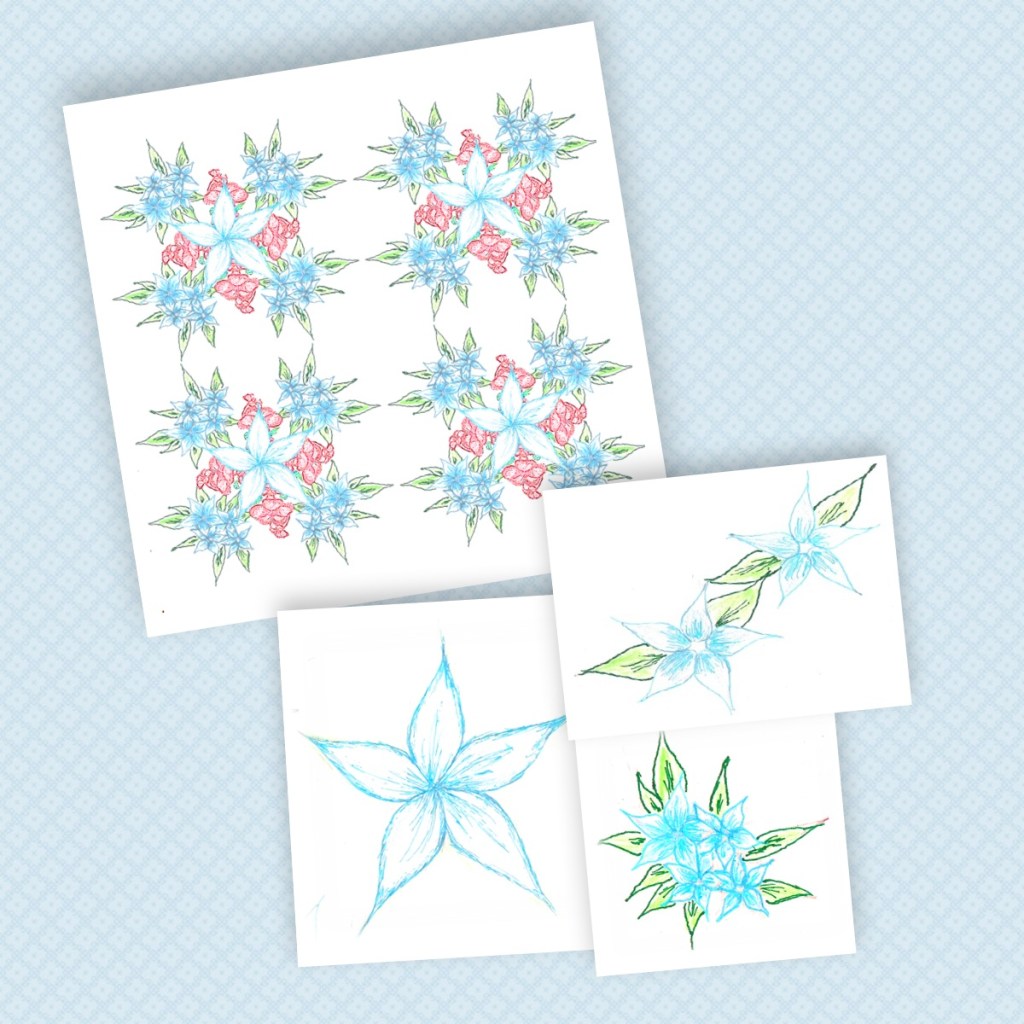
Step 1: Draw a design
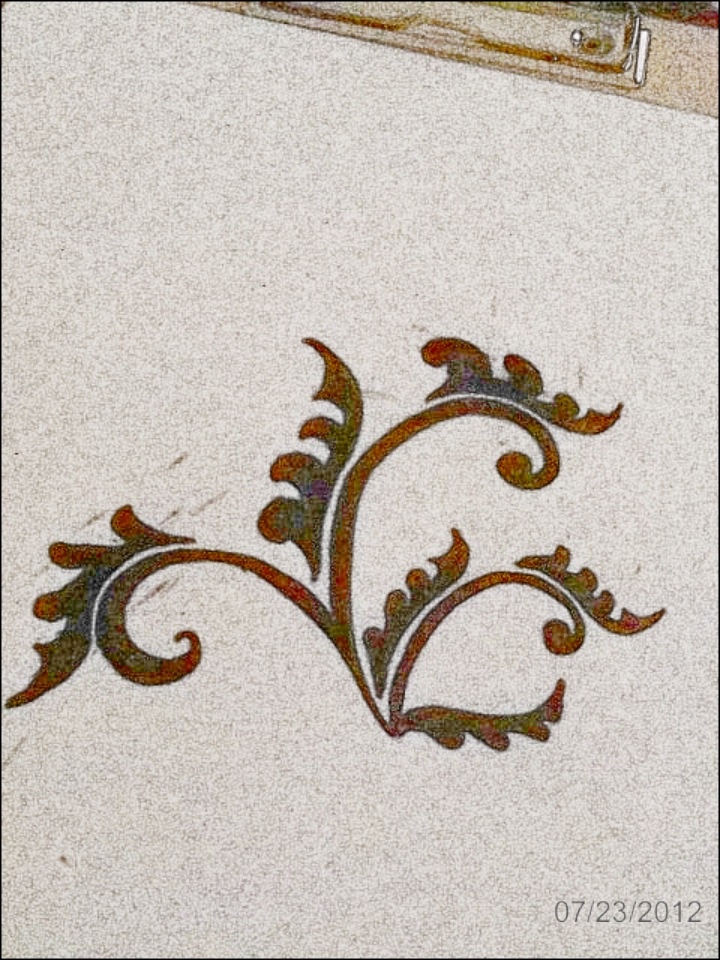
Using a pencil, I drew this small pattern. Then I coloured it in with a permanent marker. Finally, I took a picture of it using my smart phone.
** This is where you give it a touch of your own personality.
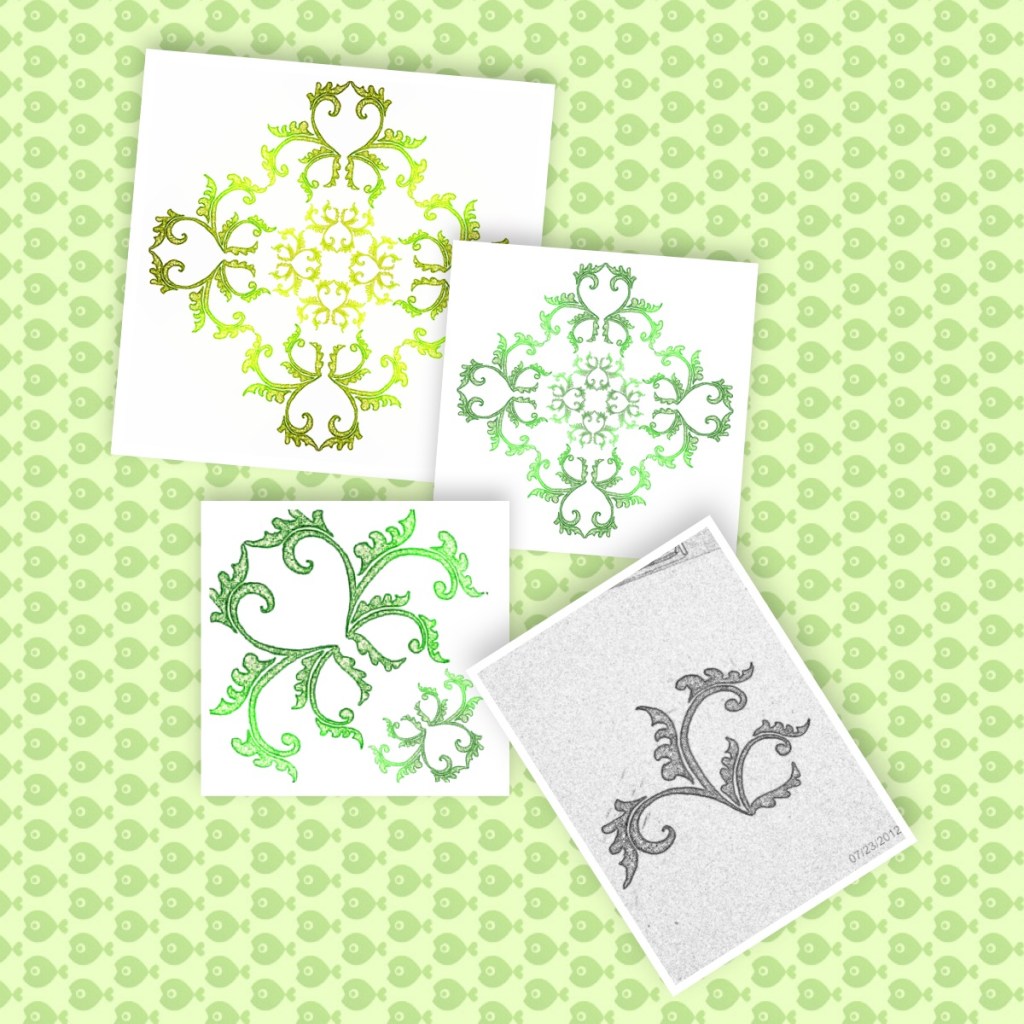
Step 2: Refine the design

Once I got the picture transferred to my computer, I inserted it into a Microsoft Word Document.
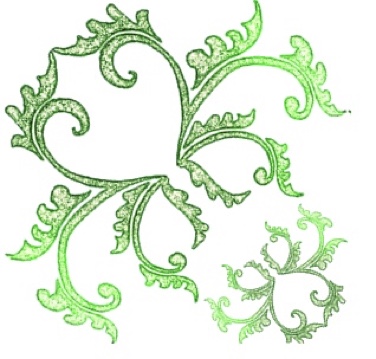
Under the Picture Format menu, I used the Crop function to cut out the the part I wanted. Than I played around with the Correction, Color, and Artistic Effects option to get this green look.
As you can see, I also duplicated and rotated the art to create pattern block.
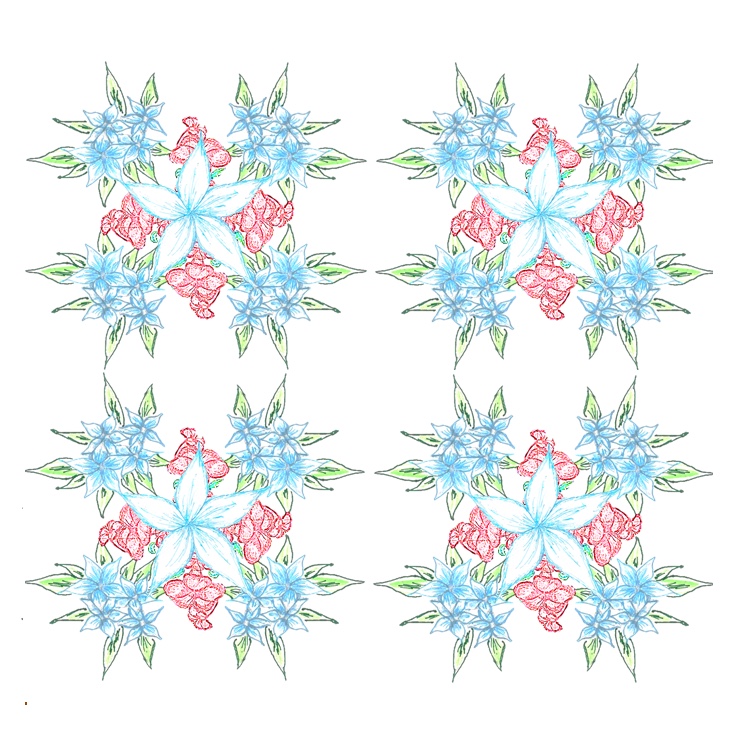
Step 3: Expand the pattern
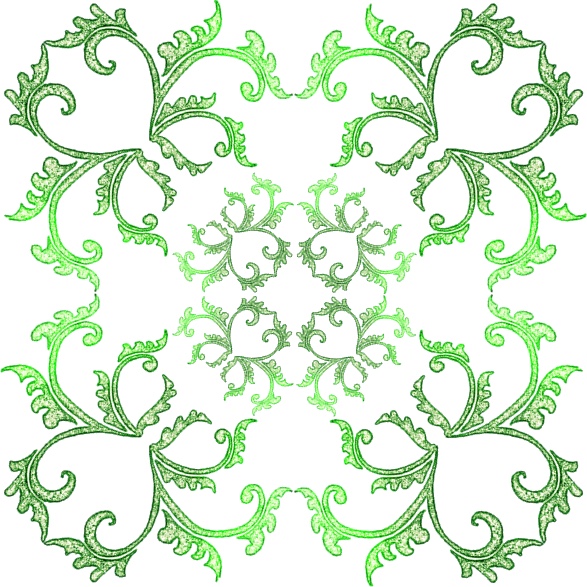
Using the Flip and Rotate tools, I expanded the pattern.
Step 4: Have fun
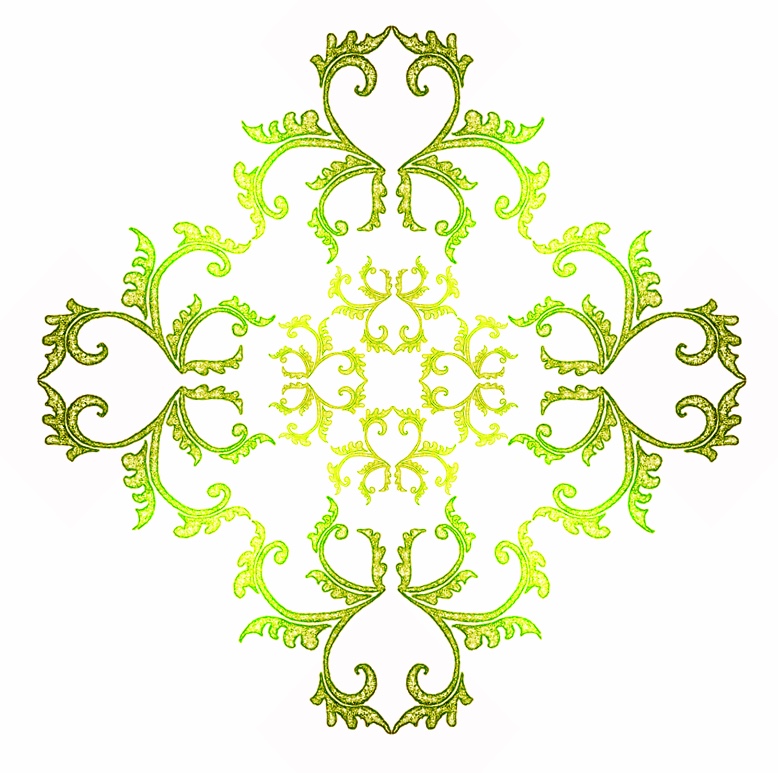
Play around with the color, rotation, and other features.
I then tried out a second pattern using flowers sketched with gel pens. Combining the two pattern gave me the pattern below.

Step 5: See it together
Using a collage app on my phone, I created collages of the different steps. Microsoft Word or online photo editors can also be used for doing this.
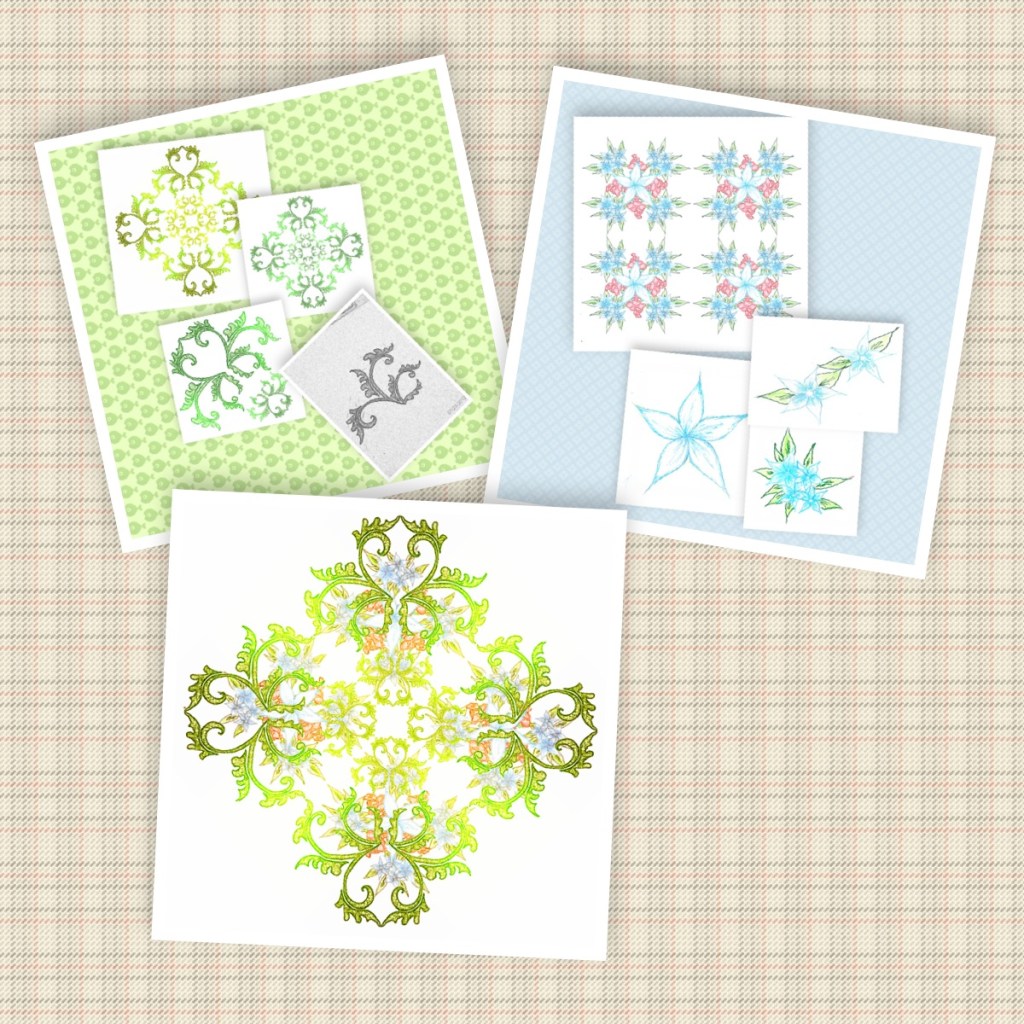
Play around with different versions and have fun!
Share your collages with the Rahima Journal DIY community on instagram with #rjdiys.
